
NHTSA ID Number: 10161780
Manufacturer Communication Number: TJ32040212019-05
Summary
This is a Technical Journal: Title Dash absorber insulation, Damp or bad smell Water seepage from sealing to Climate unit in plenum area. Add new sealing on the HWAS box (Humidity Water Air Separator) and secure assembly of the box according to attached instruction.
5 Affected Products
Vehicles
SEOCONTENT-START
VOLVO CAR
CAR
SERVICE AND PARTS BUSINESS
Technical Journal
TITLE:
Water intrusion from sealing to climate unit in plenum area
REF NO:
TJ 32040.2.1
ISSUING DEPARTMENT:
Technical Service
CAR MARKET:
United States and Canada
PARTNER:
3 US 7510 Volvo Car USA
ISSUE DATE:
2019-05-14
STATUS DATE:
2019-05-20
FUNC GROUP:
8700
FUNC DESC:
Air conditioning unit Page 1 of 22
Produced in the USA and available as an electronic document. Hard copy documents are printed in USA on recycled paper containing
a minimum of 50% wastepaper and 10% post-consumer waste.
© 2019 VOLVO CAR USA, LLC
“Right first time in Time”
Attachment
File Name File Size
TJI-497457-2_1_2_en-US.pdf 4.2124 MB
TJI-497457-3_1_2_en-US.pdf 4.5598 MB
Vehicle Type
Type Eng Eng
Desc Sales Body Gear Steer Model Year Plant Chassis range Struc Week
Range
234 2017-2017 0000350-0009837 201617-201642
256 2016-2017 0000561-0144278 201505-201642
CSC Customer Symptom Codes
Code Description
R7 Body frame/Other water leaks (sealing issues only)
A2 Climate control system/Unusual odor
VST Operation Number
VST Operation Number Description
99400-2 General reimbursement acc. to TJ/QB
36050-2 Calibrating/Identifying with VIDA
97174-2 Air intake housing, adjust acc. to TJ32040
Page 2 of 22 2019-05-20
Technical Journal 32040.2.1
DTC Diagnostic Trouble Codes
Rows beginning with * are modified
Note! If using a printed copy of this Technical Journal, first check for the latest online version.
Text
DESCRIPTION:
*Title edited to improve search function
Water seepage from sealing to Climate unit in plenum area.
SERVICE:
Add new sealing on the HWAS box (Humidity Water Air Separator) and secure assembly of the box according to attached instruction.
VEHICLE REPORT:
Yes, please submit a Vehicle Report if the service solution described in this TJ has no effect. Use concern area “Vehicle Report” and sub concern area “Support not needed”, use function group 8700.
To view TJ attachment continue to next page. This TJ has two attachments.
Volvo Car Customer Service TJ Instruction VCC-497457-2
Title Air inlet housing Page 1 ( 10 )
Action Adjustment Operation number: 99400-2
97174-2
36050-2
Issue Date Reason
1 2016-10 First issue
Affected vehicles
Model year Model
2016, 2017 XC90 (16-)
Materials
Materials Qty. Part No. Notes
Isopropanol 0.02 1161721 CLEANING;
Sealing 1.0 31694105 SEAL – LHD / RHD;
TJ Instruction VCC-497457-2 Page 2 ( 10 )
Orientation view
Color symbols
Note! This colour chart displays (in colour print and electronic version) the importance of the different colours used in the images of the method steps.
1 . Used for focused component, the component with which you will do something.
2 . Used as extra colors when you need to show or differentiate additional parts.
3 . Used for attachments that are to be removed/installed. May be screws, clips, connectors, etc.
4 . Used when the component is not fully removed from the vehicle but only hung to the side.
5 . Used for standard tools and special tools.
6 . Used as background color for vehicle
components.
TJ Instruction VCC-497457-2 Page 3 ( 10 )
Check
Applies to the passenger side
Note! Orientation view
Remove the screws.
TJ Instruction VCC-497457-2 Page 4 ( 10 )
Remove the part carefully
Remove the panel.
Note! Check for moisture in the area
indicated.
Reach with your hand behind the fan housing and check for moisture between the insulating mat foam and the body wall.
If no faults are detected, to install, reverse the removal procedure.
All vehicles
Removal
Remove the cowl panel cover , refer to:
Removal, replacement and installation
8 – Body and interior
82 – Bonnet (Hood), front end, wings,
door sill
823 – radiator grille
TJ Instruction VCC-497457-2 Page 5 ( 10 )
Set the vehicle to Active mode, described in user mode , refer to:
General Information
3 – Electrical system
30 – General
300 – general
Activate service position according to:
Diagnostics / Components / Control modules / Climate Control Module (CCM) / Diagnostic sequences / Service position of damper motors Set the vehicle to Inactive mode, described in user mode , refer to:
General Information
3 – Electrical system
30 – General
300 – general
Release the catches.
Remove the part carefully
Remove the marked part.
TJ Instruction VCC-497457-2 Page 6 ( 10 )
Caution! Make sure that the flaps have reached service position (closed).
Check with your hand that the flaps have closed. If not, run the script for Service position.
Do not force the flaps closed by hand!
Remove the nuts.
Remove the part carefully
Remove the marked part.
TJ Instruction VCC-497457-2 Page 7 ( 10 )
Cleaning
Clean the marked area.
Use: Isopropanol , 1161721
Clean the marked area.
TJ Instruction VCC-497457-2 Page 8 ( 10 )
Adjustment
Left hand drive vehicles
Install the marked component.
Note! Make sure that the seal is correctly located.
Make sure to place the joint where indicated in the graphic.
TJ Instruction VCC-497457-2 Page 9 ( 10 )
Right-hand drive vehicles
Install the marked component.
Note! Make sure that the seal is correctly located.
Make sure to place the joint where indicated in the graphic.
TJ Instruction VCC-497457-2 Page 10 ( 10 )
All vehicles
Installation
Caution! Make sure that the component is positioned correctly.
Note! Make sure to follow the sequence indicated.
Install the nuts
Torque:
Air inlet housing, to Body , 3 Nm
To install, reverse the removal procedure.
Volvo Car Customer Service TJ Instruction VCC-497457-3
Title Air inlet housing Page 1 ( 10 )
Action Adjustment Operation number: 36050-2
97174-2
99400-2
Issue Date Reason
1 2016-10 First issue
Affected vehicles
Model year Model
2017 S90 (17-)
Materials
Materials Qty. Part No. Notes
Isopropanol 0.02 1161721 CLEANING;
Sealing 1.0 31694118 SEAL – LHD / RHD;
TJ Instruction VCC-497457-3 Page 2 ( 10 )
Orientation view
Color symbols
Note! This colour chart displays (in colour print and electronic version) the importance of the different colours used in the images of the method steps.
1 . Used for focused component, the component with which you will do something.
2 . Used as extra colors when you need to show or differentiate additional parts.
3 . Used for attachments that are to be removed/installed. May be screws, clips, connectors, etc.
4 . Used when the component is not fully removed from the vehicle but only hung to the side.
5 . Used for standard tools and special tools.
6 . Used as background color for vehicle components.
TJ Instruction VCC-497457-3 Page 3 ( 10 )
Check
Applies to the passenger side
Note! Orientation view
Remove the screws.
TJ Instruction VCC-497457-3 Page 4 ( 10 )
Remove the part carefully
Remove the panel.
Note! Check for moisture in the area indicated.
Reach with your hand behind the fan housing and check for moisture between the insulating mat foam and the body wall.
If no faults are detected, to install, reverse the removal procedure.
All vehicles
Removal
Remove the cowl panel cover , refer to:
Removal, replacement and installation
8 – Body and interior
82 – Bonnet (Hood), front end, wings,
door sill
823 – radiator grille
TJ Instruction VCC-497457-3 Page 5 ( 10 )
Set the vehicle to Active mode, described in user mode , refer to:
General Information
3 – Electrical system
30 – General
300 – general
Activate service position according to:
Diagnostics / Components / Control modules / Climate Control Module (CCM) / Diagnostic sequences / Service position of damper motors Set the vehicle to Inactive mode, described in user mode , refer to:
General Information
3 – Electrical system
30 – General
300 – general
Release the catches.
Remove the part carefully
Remove the marked part.
TJ Instruction VCC-497457-3 Page 6 ( 10 )
Caution! Make sure that the flaps have
reached service position (closed).
Check with your hand that the flaps have closed. If not, run the script for Service position.
Do not force the flaps closed by hand!
Remove the nuts.
Remove the part carefully
Remove the marked part.
TJ Instruction VCC-497457-3 Page 7 ( 10 )
Cleaning
Clean the marked area.
Use: Isopropanol , 1161721
Clean the marked area.
TJ Instruction VCC-497457-3 Page 8 ( 10 )
Adjustment
Left hand drive vehicles
Install the marked component.
Note! Make sure that the seal is correctly located.
TJ Instruction VCC-497457-3 Page 9 ( 10 )
Right-hand drive vehicles
Install the marked component.
Note! Make sure that the seal is correctly located.
TJ Instruction VCC-497457-3 Page 10 ( 10 )
All vehicles
Installation
Caution! Make sure that the component is positioned correctly.
Note! Make sure to follow the sequence indicated.
Install the nuts
Torque:
Air inlet housing, to Body , 3 Nm
To install, reverse the removal procedure.
SEOCONTENT-END
REF NO:
TJ 32040.2.1
STATUS DATE:
2019-05-20
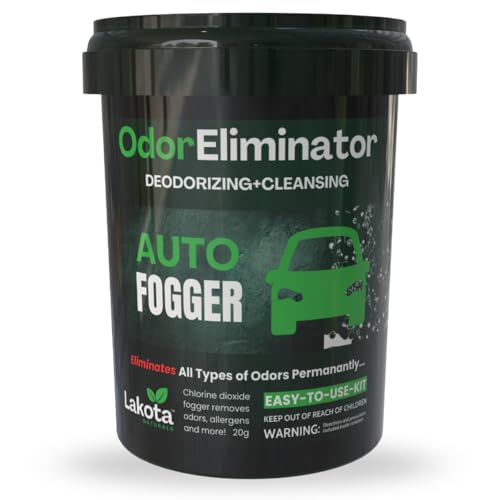
- FAST RELEASE - Lakota Naturals chlorine dioxide car deodorizer odor eliminator kit begins working immediately to eliminate any odors caused by pets, food, oils, smoke and more. Remove smoke smell from car fast!
- EASY TO USE - Car odor remover. Simply put in water to activate chlorine dioxide car odor eliminator bomb. Simple and effective car fogger odor eliminator.
- PERMANANTLY ELIMINATES SMELLS - Lakota Naturals Chlorine dioxide kit odor bomb for car doesnt just mask smells, it permanantly eliminates them! Best odor eliminator for car
- ECO-FRIENDLY - Car smoke odor eliminator. Clobombs Leaves no harmful residues. No clean up required. Remove all bad car smell fast!
- MADE IN THE USA
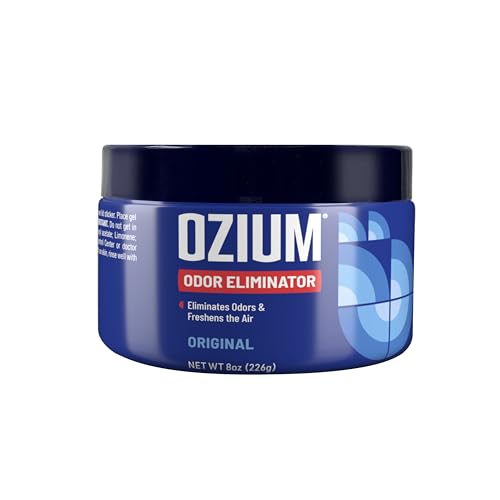
- THE ANYWHERE ODOR ELIMINATOR: OZIUM gel eliminates stubborn smoke odors and tackles other offensive everyday smells found in bathrooms, kitchens, trash cans and more.
- GREAT FOR ELIMINATING ODOR IN LARGE SPACES: OZIUM 8oz odor eliminating gel eliminates unpleasant odors in larger spaces, like kitchens, offices, garages and more.


- Includes one, 17 ounce Amazon Basics Gel Odor Eliminator
- Fragrance free with unscented activated charcoal
- Great for closets, bathrooms, laundry rooms, garages, basements, and lockers
- Alexa voice shopping enabled: to place your next order, just say, “Alexa, reorder Amazon Basics Gel Odor Eliminator.”
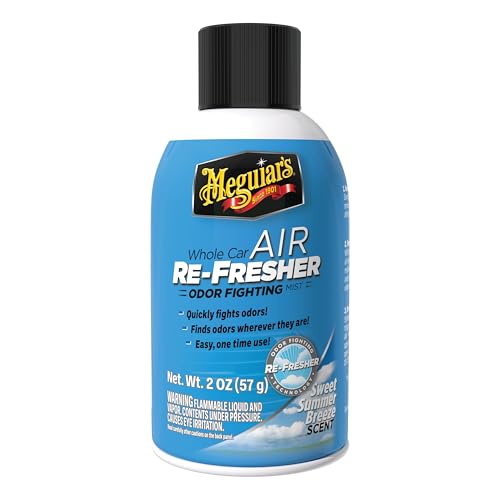
- PERMANENT ODOR REMOVAL: Permanently eliminates odors on a molecular level. Removes bad smells like cigarette smoke, wet dog, workout gear and more
- ONE-TIME USE: Simple one-time-use aerosol refreshes every corner of your car’s interior
- AIR REFRESHER: Aerosol mist moves through the ventilation system, across the headliner and in between all other hard-to-reach areas, eliminating odors and leaving a pleasant scent in its place
- EASY TO USE: Simply turn the AC on high, hit the recirculate button, activate the Re-Fresher and close the doors for 10-15 minutes. Then open all doors and air out for 10-15 minutes
- NEW CAR SCENT: Leaves behind a fresh new car aroma. Experience that “new car” feeling again!

- CHARCOAL DEODORIZER BAGS WITH HOOKS. Our 3.5oz bamboo charcoal bag musty smell eliminators are the perfect size to place wherever you have a bad smell: closet, car, shoes, gym bag, basement, pet areas.
- NATURAL NON-TOXIC ODOR ELIMINATION. Our charcoal odor absorbers for home contain highly porous activated bamboo charcoal which binds to and removes bad smells.
- ODOR ELIMINATOR FOR CAR. Pop a couple of our charcoal odor absorbers for car in your vehicle. After a few days these car deodorizers will have your ride smelling sweet! Use more car odor removers for bigger cars.
- CLOSET ODOR ABSORBER AND ELIMINATOR. Add one of these closet odor eliminators to your closets or drawers to eliminate musty smells and mothball.
- MUSTY BASEMENT ODOR ELIMINATOR. Place several basement musty odor eliminators around the room to get rid of old smells and damp.
This product presentation was made with AAWP plugin.